If non-repeatability is an issue and ambient vibration or mechanical looseness in the setup of the laser has been ruled out, then it may be of interest to check the bearing clearances. This can be accomplished very easily with a laser shaft alignment system. A little bit of information is necessary to accomplish this. We will need the following:
- Acceptable bearing clearance values and tolerances.
- The distance between bearings.
- The distance from the receiving laser (the “M” laser) to the first bearing.
- Easy Laser XT770 shaft alignment tool
For instance, suppose that the distance between bearings is 10 inches, the distance from the M-laser to the first bearing is 5 inches, and the acceptable clearance is 4 mils. This means that with the shaft bottomed out in the bearing, there is a total of 4 mils of clearance available, or lift.
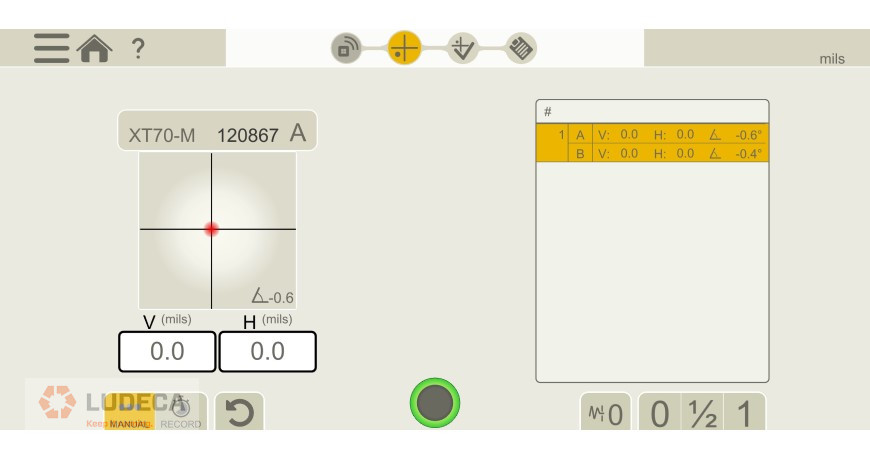
Select the “Values” app and set the lasers at the 12:00 o’clock position; press the SET ZERO button and record the position. This will give you a zero reference for the values displayed on the sensors. See Figure 1:

Using a carefully controllable lift mechanism (such as a hydraulic jack stand) carefully lift the shaft until it contacts the top of the bearing and record the position. See Figure 2:

With the above distances, we are allowed 4 mils/10 inches, (or 0.4 mils/1 inch), 10 inches being the distance between the bearings. From the receiver to the front bearing is 5 inches, so with a good bearing, we would expect to see another 2 mils/5 inches, (or 0.4 mils/ 1 inch). Add the two together and we get a total of 6 mils/15 inches. This means that if the lift of the shaft shows 6 mils of change at the M-Laser, the clearance is acceptable. If greater than 6 mils, clearances may be excessive.
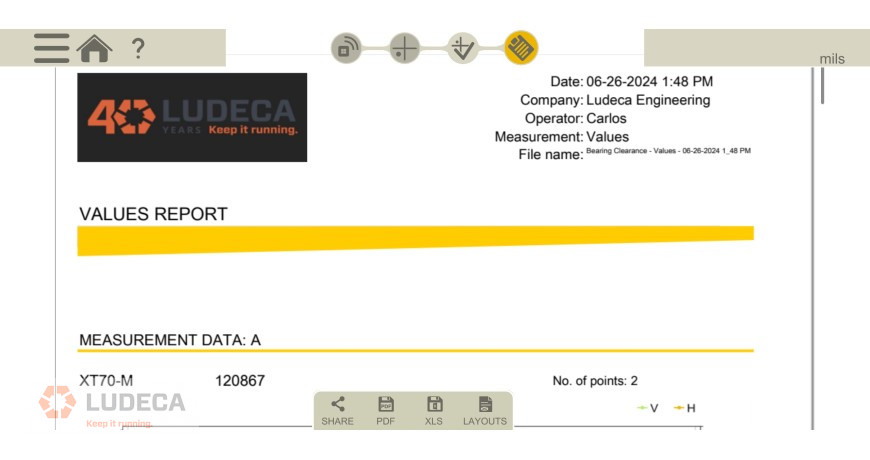
If documentation is needed, touch the clipboard icon to create a PDF report of the measurement. Shown below:

Filed under:
Alignment by Carlos Bienes CRL
