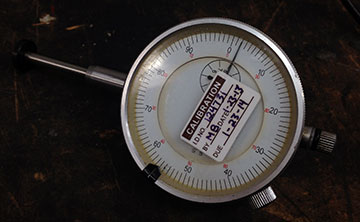
On a recent visit to a plant, I came across this dial indicator with a calibration sticker.

How often are your dial indicators calibrated? You depend on them for precise 1 thousandth accurate measurements, or tighter for high accuracy dial indicators. Routine calibration inspection should be performed on any precision measurement instrument. This includes your laser shaft alignment equipment.
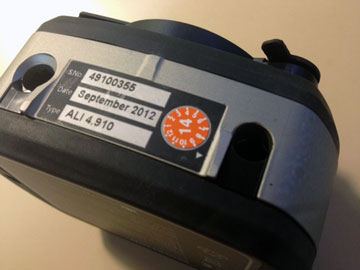
Here’s the calibration sticker on the back of a ROTALIGN® iS intelligent sensor. LUDECA offers state-of-the-art NIST traceable calibration inspection and certification which is recommended every two years for our laser alignment systems. Knowing that you can depend on your readings the next time you align a critical machine will give you peace of mind and reduce liability.

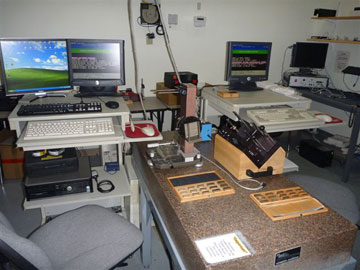
LUDECA’s calibration lab is a factory-authorized, NIST and NUPIC certified facility to calibrate your ROTALIGN®, OPTALIGN®, and VIBXPERT® systems in the United States. Sending your system in for calibration is fast and is just a small routine cost compared to the potential consequences of not having it done.

Can you afford to risk your machines and safety? Beware of non-authorized entities that purport to offer calibration services.
Filed under:
Maintenance Tips by Daus Studenberg CRL
