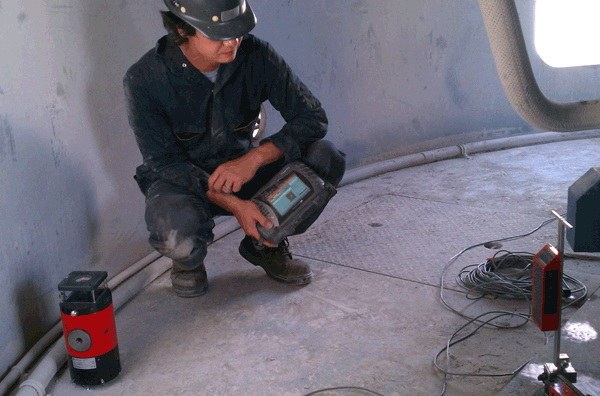
The Problem: A cement manufacturer requested the measurement of the flatness and levelness of a gearbox foundation to determine its condition. The problem was that the gearbox had to remain in place during the measurement. This type of measurement would present itself as an impossible task due to the fact that most flatness measurement methods require some type of line of sight in order to measure each point.
The Solution: The LEVALIGN® EXPERT automatic rotating laser along with a sensor and a dedicated computer was used for this geometric measurement task. The LEVALIGN EXPERT “InfiniSplice” function allowed for multiple measurements to be merged. For this application, only 3 separate measurements were taken where the laser was moved each time. The operator needed to make sure that each measurement file had at least 3 points in common with the previous measurement file. The LEVALIGN software then automatically merged each file to create a master measurement.

The Result: The whole measurement process took about 15 minutes to complete from start to finish. The result was an accurate measurement that assessed the condition of the base while preventing the need for the gearbox (that was in the critical path of production) to be removed.
Filed under:
Geometric Measurement by Daus Studenberg CRL
