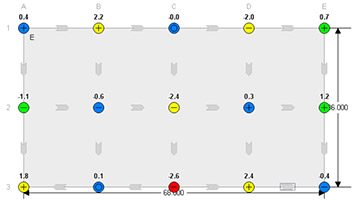
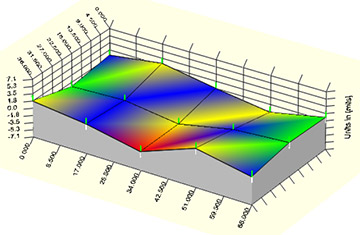
Problem: A machine base needs to be checked to see if it is flat and level.
Solution: A digital inclinometer provides fast and accurate measurements of the foundation.
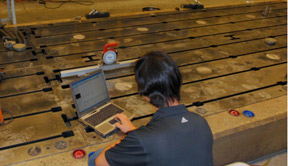
When installing on machine bases, the spirit level is a commonly used measurement tool assigned to this task. Although the accuracy of the spirit level can be within the level tolerance specifications, it does not provide the degree to which levelness is out of tolerance. In essence, it provides a “pass/fail” verification instead of exact numbers for inclination. See Figure 2 below.

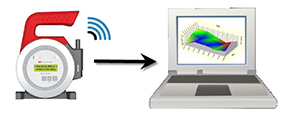
Furthermore, level measurements can vary depending on where the measurements were taken. If a part was measured to be level only from end to end, it may not necessarily be level or flat through its middle. The INCLINEO® takes the concept of the bubble level and brings it to the next level to make it ideal for machine base measurement. The INCLINEO is a high precision (0.0003° resolution) digital level. Because it is digital, it provides numerical readings. It can provide angular readings (degrees, arc seconds, etc.) as well as elevation readings (mils/inch, mm/m, etc.). It uses wireless communication to interface with the software on your PC to map out the foundation measurements in 3D.
So how does the INCLINEO work for both flatness and levelness? INCLINEO works by taking level measurements between two discrete measurement points. The level measurements are automatically merged in the software.
By taking this concept and now applying it as a grid over the part to be measured, the levelness and flatness can be determined.
Taking measurements is as simple as “Dimensions, Measure, Results”. First, the dimensions of all the points of interest are entered into the ALIGNMENT CENTER software.
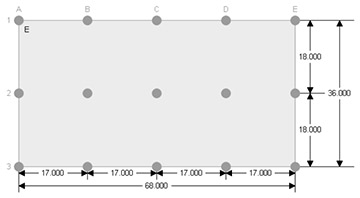
Second, measurements are taken by placing the INCLINEO between the points of interest. The measurements are wirelessly transferred to the PC. It is even easier to use than a bubble level, with the added benefit of giving you exact readings.
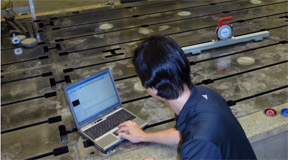
The extended range base is ideal for this application because it allows contact points to rest exactly on the points to be measured. The self-calibration feature of the INCLINEO allows the extended range base contact points to be moved in or out through the measurement. As an added bonus, the self-calibration also cancels out any effect of bar sag, thus giving you dependable level measurements.
Finally, the software displays a 2D or 3D elevation plot of the foundation immediately after the last point is measured. There is no more guessing and checking about what your foundation is doing. Select the report option and instantly view how flat and level it is. Numerical results and color-coordinated tolerances will automatically display what needs to be corrected and by how much. Problem solved!
Filed under:
Geometric Measurement by Daus Studenberg CRL

