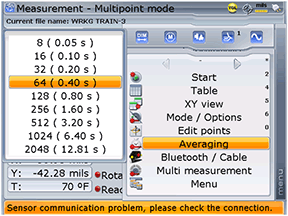
Dial indicators can fluctuate several thousandths; no direct solution to this is available. However, with ROTALIGN® ULTRA, as with the OPTALIGN® SMART and SHAFTALIGN®, a measurement setting known as “Averaging” can be controlled (Figure 1). The averaging feature allows you to control the number of individual data points taken per reading. If there are high vibrations, or positional fluctuations being picked up by the equipment, increasing the averaging can ensure that you obtain a true measurement of the misalignment.
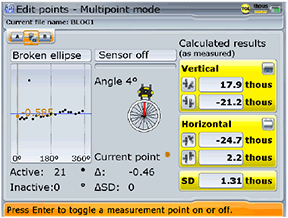
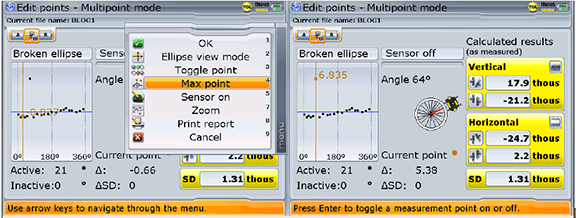
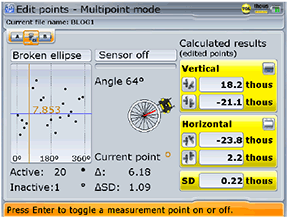
Further data collection analysis can be accomplished after the alignment measurements have been taken by viewing the scatter plot of all individual points/readings using the “Edit Points” feature (Figure 2). With the advanced functionality of ROTALIGN ULTRA, the points with maximum deviation can be found and analyzed (Figure 3). If, for example, one or more points were found to be random, outlying, high vibration peaks, those particular points can be disabled. By disabling the “rogue” points, the Standard Deviation (SD) of the averaged alignment measurement is decreased, thereby giving you an even more accurate representation of the misalignment (Figure 4).
Filed under:
Alignment, Articles and Case Studies by Ana Maria Delgado, CRL


