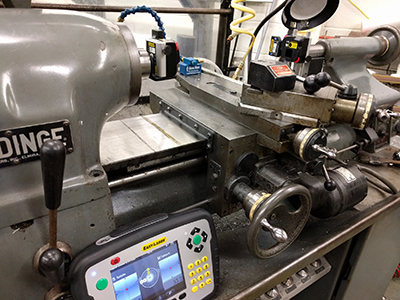
Problem: The machine shop of the engineering department of a prestigious Florida university wanted to identify the source of error in their tool room lathe. They had previously observed that when working pieces further away from the spindle chuck, there was an appreciable deviation in accuracy compared with close-to-the-spindle work.
The machine shop instructor suspected the problem to lie somewhere in the tailstock and asked us to confirm or refute his suspicions.

Solution: The Easy-Laser E940 Machine Tool laser alignment system was used to perform three types of measurements:
- Z-axis straightness measurement
- A spindle direction measurement
- A spindle-to-tailstock alignment measurement
In addition, the Values program was used to check for play in the tailstock sub-spindle bearings. An additional check was performed to verify whether the tool support returned to its original position when it was unlocked, and then locked again.
After accomplishing the above measurements and checks, it was determined that the straightness of the Z-axis was within tolerance, the spindle direction was ascertained and the alignment between the spindle and tailstock at the furthest distance revealed a small angle. There was no significant play in the sub-spindle bearings and the tool support check was good.
This data allowed the instructor to narrow down the possible corrective actions to take in order to achieve a better alignment and return the lathe to an optimum performance condition.
The ability to perform all of these checks and measurements to a high degree of accuracy allowed the university to quickly and more certainly identify worn components, which will save them a great deal of money in spares costs, as well as ensure that parts and workpieces fabricated on this lathe will turn out as expected, on time and within design tolerances.
Filed under:
Alignment, Geometric Measurement by Oliver Gibbs CRL
