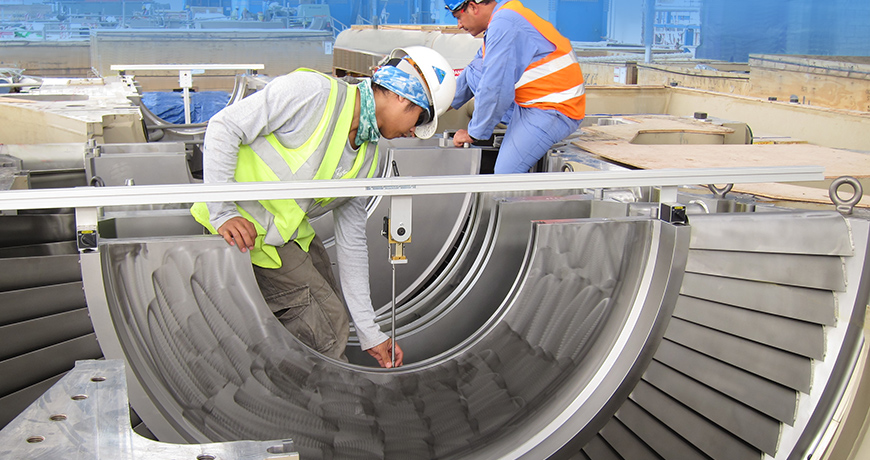
Easy-Laser® E960 Turbine alignment systems make the measurement and adjustment work on diaphragms and bearings easier thanks to the wireless detector unit and measurement program that guides you through the measurement process.
All of the components included in the system are built for even the most demanding work environment and are designed for easy setup on any machinery. The versatile design solves straightness measurement problems quickly and with precision for any kind of application. Turbines up to 40 m (132 feet) in length can be measured. The detector reads measurement values with a resolution of 0.001 mm (0.05 mils).
EASY-LASER® E960-A AND EASY-LASER® E960-B
The system comes in two versions. Easy-Laser® E960-A has a measuring probe with a stroke of 10 mm for smaller turbines. The slidable tube makes it possible to measure several positions in a row without moving the bracket. The Easy-Laser® E960-B has a measuring probe with a stroke of 60 mm. This system is suitable for larger turbines. Software, laser transmitter and detector are common to both systems. The detector brackets differ.

VERSATILE PROGRAMS
The straightness programs of the E960 system are extremely versatile, letting you work in whatever way suits each job the best. You can add, remove and remeasure measurement points at any time during the measurement. Up to 999 points can be handled by the program. You can include both full bores and half bores in any possible combination in one measurement file; the program will calculate the correct center line in all cases. The measurement program includes several different methods for straightness measurement: single point measurement, 4-point measurement, Multipoint measurement (also ovality measurement), 3-point measurement, and 3-point measurement with arbitrary angles. Optionally, a reference detector can be used to monitor the laser transmitter position at long distances.
THE MEASUREMENT RESULT
Thanks to the large color display with clear graphs and measurement data you can evaluate the results directly on site. Any point can be set as a reference and you can set an offset to which the center line will be recalculated. You can also calculate waviness (short and long) and a best-fit line for the points. Results can also be checked against a tolerance value. The measurement system takes care of all these complex calculations for you.
E960 TURBINE ALIGNMENT TRAINING SYLLABUS
- Importance of machinery alignment to improve safety, reliability, and production
- Introduction to bore alignment principles
- Prepping for measurements
- Bracket assembly
- Laser setup
- Detector setup: short stroke and long stroke
- Laser centering process (buck-in)
- Measuring and correcting misalignment
- Dimensions
- Measure
- Set reference bores
- Results views (graph, table, 3D view, roundness)
- Documentation
