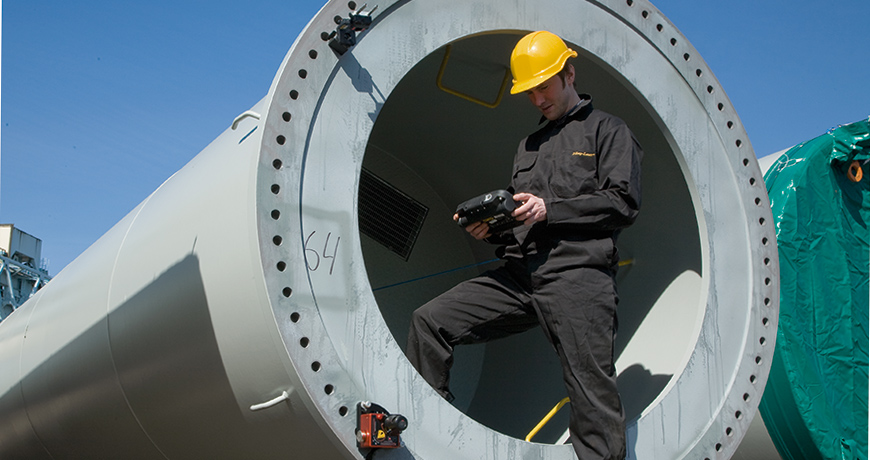
MEASURE ACCURATELY WITH A SPINNING LASER. SEE RESULTS DIRECTLY IN TRUE 3D.
The Easy-Laser® E915 Flange Measurement system displays the measurement results as a true 3D image directly in the display unit after measuring. You can then evaluate the results easily from different perspectives and with different calculation settings; for instance, select a three-point reference, a best fit plane or an all positive solution. This can be done directly on site without having to use a PC with separate analysis programs. This makes your maintenance work much more efficient and reduces interruptions to production.
The system includes our D23 Spin laser transmitter with power rotating head. Here’s how it works: The laser beam from the transmitter rotates continuously to create a reference plane over the entire measurement object. Measurements are performed quickly as you do not have to align the laser beam for each new measurement position. You simply place the detector at any desired measurement points and register the reading by the push of a button. The system then generates a PDF report containing graphs and measurement data directly from the measurement system’s display unit. Any relevant information about the measurement object can be documented in the report as well.

FOR ALL TYPES OF FLANGES
Easy-Laser® flange measurement systems can be used on all sizes of flanges, regardless of diameter. You can measure from 1 to 5 circles of measurement points, so, for example if you want to see the taper of the flange, simply measure an inner, middle and outer circle. Each circle can have from 6 to 180 measurement points. The program guides you graphically step-by-step through the entire measurement, making the entire measurement process quick and easy. Two methods are available: Full Circle measurement and Sectional measurement.
EVALUATE DIRECTLY ON SITE
Once the measurement of the flange is complete, , Easy-Laser® flange systems evaluate the result for you directly on site, without having to use a PC with separate analysis programs. This saves a lot of time. You can evaluate the results easily from different perspectives and with different calculation settings; for instance, select a three-point reference, a best fit plane or an all positive solution. The result is shown graphically in true 3D.
E915 GEOMETRIC MEASUREMENT TRAINING SYLLABUS
- Importance of measuring flatness and level to improve safety, reliability, and production
- Introduction to geometric measurements
- Prepping for measurements
- Laser setup
- Measuring flatness with laser on the corner
- Measuring flatness with laser in the center
- Measuring levelness
- Evaluate results
- Documentation
